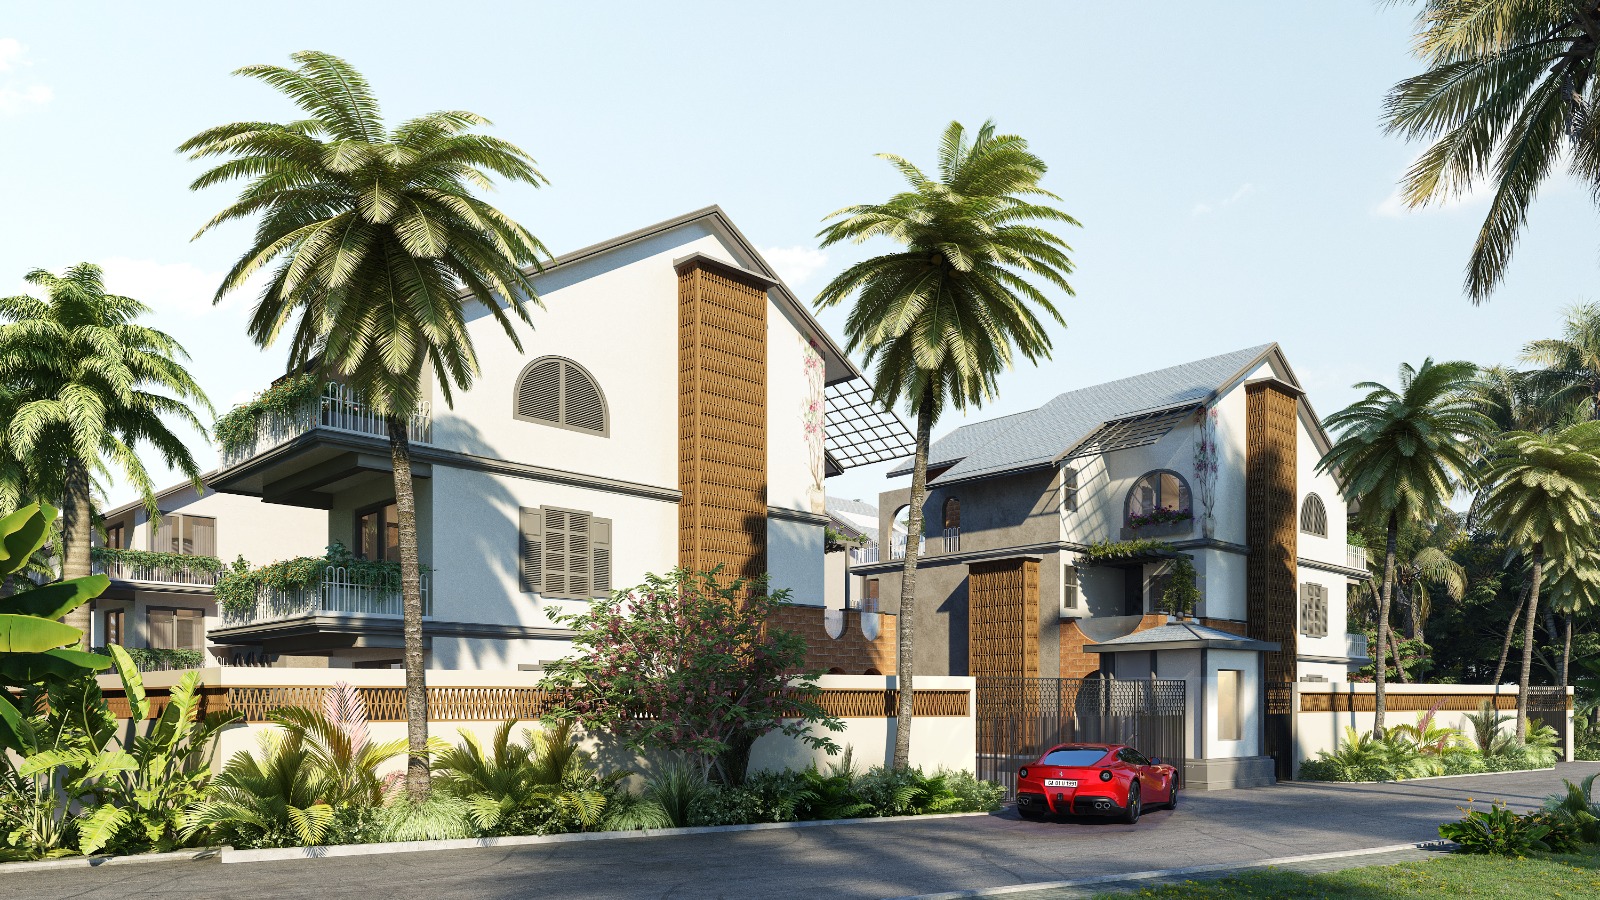
In today\’s digital age, 3D walkthroughs have become an essential tool for architects, interior designers, real estate professionals, and even video game developers. They offer a dynamic way to showcase spaces and designs, providing a realistic, immersive experience for viewers. Whether you\’re looking to market a property, present a design concept, or create an engaging gaming environment, creating a 3D walkthrough can be a game-changer. In this comprehensive guide, we\’ll walk you through the step-by-step process of creating a 3D walkthrough.
Step 1: Define Your Goals
Before diving into the technical aspects of creating a 3D walkthrough, it\’s essential to clarify your objectives. What do you want to achieve with your walkthrough? Are you aiming to sell a property, present an architectural design, or entertain users in a virtual environment? Understanding your goals will help you make informed decisions throughout the process.
Step 2: Gather Your Assets
The next step is to gather all the necessary assets. This includes 3D models, textures, lighting, and any other elements you plan to incorporate into your walkthrough. If you\’re designing a building, you\’ll need a 3D model of the structure. If you\’re creating a virtual game environment, you\’ll require character models, props, and terrain.
Step 3: Choose the Right Software
Selecting the right software is crucial for creating a 3D walkthrough. Some popular choices include:
Autodesk 3ds Max: A versatile 3D modeling and rendering software.
SketchUp: Known for its user-friendly interface, it\’s great for architectural modeling.
Blender: An open-source 3D creation suite with a strong community of users.
Unity: Ideal for game developers and interactive virtual environments.
Unreal Engine: Another excellent option for game development and interactive 3D presentations.
Your choice of software will depend on your specific project requirements and your familiarity with the program.
Step 4: Model Your Environment
Once you\’ve selected your software, it\’s time to start modeling your 3D environment. This is where you bring your vision to life. Design your building, landscape, or game world, and make sure all the elements are accurately placed and scaled. Pay close attention to the details, as they can significantly enhance the realism of your walkthrough.
Step 5: Apply Textures and Materials
Texture and material application is a crucial step in creating a visually appealing 3D walkthrough. Make use of high-quality textures to add depth and realism to your models. Adjust material properties to achieve the desired look for different surfaces, such as wood, glass, or concrete.
Step 6: Set Up Lighting and Cameras
Proper lighting and camera setup are essential for creating a visually stunning walkthrough. Experiment with different lighting techniques to achieve the right ambiance for your project. You can use both natural and artificial lighting sources to create realistic lighting effects. Additionally, set up cameras at key points within your environment to define the viewer\’s perspective as they navigate the space.
Step 7: Animate Your Walkthrough
The magic of a 3D walkthrough comes to life through animation. You can use keyframes and animation curves to create smooth transitions between camera positions and object movements. This step is where your environment becomes interactive, allowing viewers to explore and experience your project.
Step 8: Add Interactivity (If Applicable)
If you\’re creating a game or an interactive virtual environment, consider adding interactivity to engage your audience. This could involve creating interactive elements, scripting events, or developing gameplay mechanics that allow users to interact with the environment.
Step 9: Test and Refine
Testing is a critical part of the process. Play through your 3D walkthrough and address any issues that arise, such as clipping, lighting problems, or performance issues. Test on different devices to ensure compatibility and optimize the experience for various platforms.
Step 10: Render Your Walkthrough
Once you\’re satisfied with your 3D walkthrough, it\’s time to render it. Rendering can be a time-consuming process, depending on the complexity of your project and the quality you\’re aiming for. Set your rendering parameters, such as resolution and frame rate, and let your software produce the final video or interactive experience.
Step 11: Post-Production (Video Walkthroughs)
If you\’re creating a video walkthrough, you may need to perform post-production tasks. Edit your video to add music, voiceovers, text annotations, or other enhancements to make the walkthrough more engaging and informative.
Step 12: Share Your 3D Walkthrough
With your 3D walkthrough ready, it\’s time to share it with your target audience. You can upload it to video-sharing platforms like YouTube, embed it on your website, or distribute it through virtual reality platforms if applicable.
In conclusion, creating a 3D walkthrough is a multi-step process that demands careful planning, creativity, and technical skills. By following this comprehensive guide, you\’ll be well on your way to creating immersive 3D experiences that can captivate your audience, whether you\’re in the real estate, architecture, or gaming industry. Remember that practice and patience are key to mastering the art of 3D walkthrough creation, so don\’t be discouraged by initial challenges. Your dedication will pay off as you continue to refine your skills and produce stunning 3D walkthroughs that achieve your objectives
Follow BOTTOMLINE STUDIO – Architecture Visualization, for more info visit our website Bottomline Studio.

